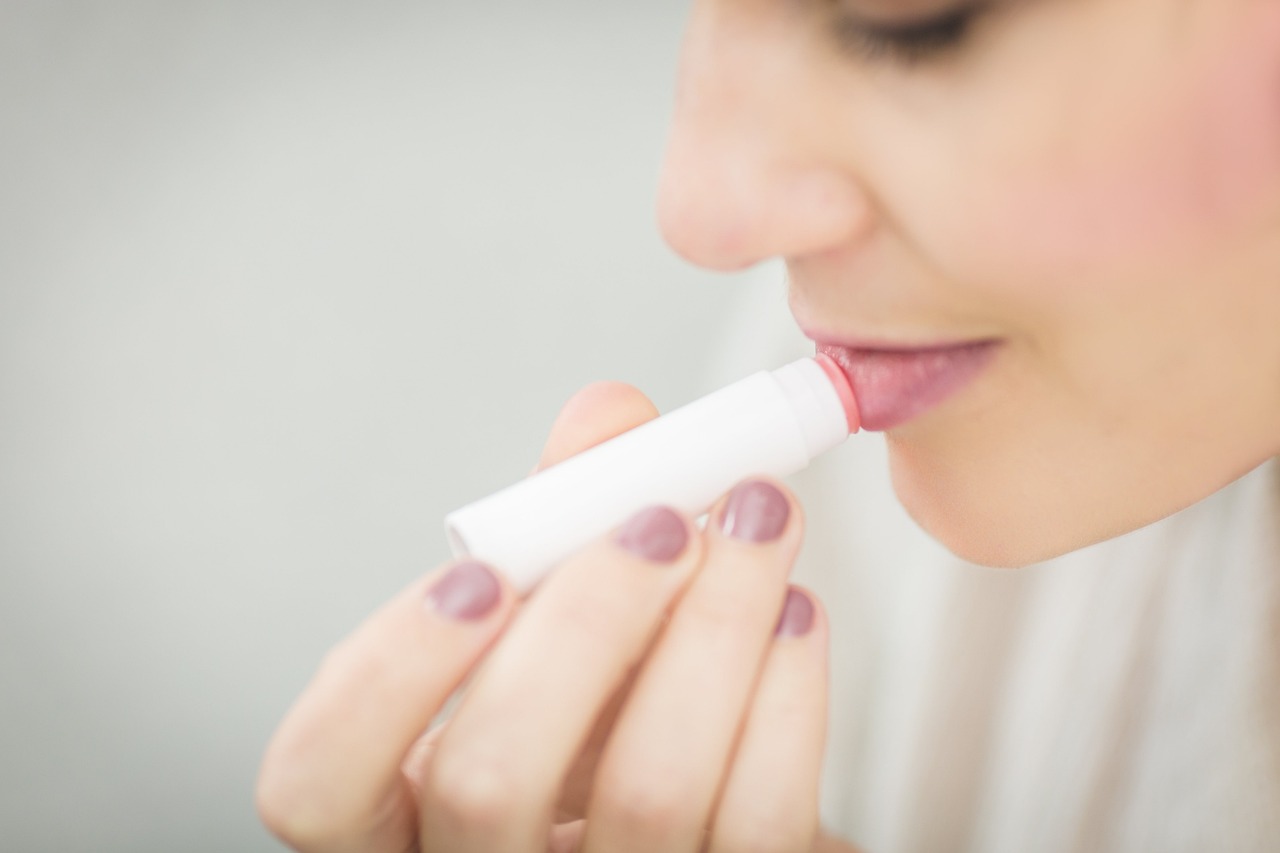
Lip balms are essential for maintaining soft, hydrated, and nourished lips, especially during dry weather. While there are many store-bought options, making your own lip balm at home ensures that you know exactly what’s in it. Plus, it can be a fun DIY project! This article will walk you through a simple, homemade lip balm recipe using natural ingredients.
Why Make Your Own Lip Balm?
There are several benefits to making your own lip balm:
- Customization – You can personalize the scent, color, and healing properties to suit your needs.
- Natural Ingredients – By choosing pure, organic, and natural ingredients, you can avoid harsh chemicals found in some commercial lip balms.
- Cost-effective – Homemade lip balm is budget-friendly, and a little goes a long way.
Now, let’s dive into how you can create your own nourishing and natural lip balm in a few simple steps.
Ingredients for Homemade Lip Balm
To make a basic lip balm, you’ll need:
- 2 tablespoons of beeswax pellets (for a solid texture)
- 2 tablespoons of shea butter or cocoa butter (for a creamy texture and moisture)
- 2 tablespoons of coconut oil (for hydration and softness)
- Optional: 5-10 drops of essential oils (like lavender, peppermint, or vanilla for scent and added benefits)
- Optional: ½ teaspoon of vitamin E oil (to help prolong shelf life and offer extra nourishment)
- Optional: Natural colorants (like beetroot powder or mica powder for a tint)
- Small lip balm containers or tubes
Note: All ingredients should ideally be organic for the best quality.
Step-by-Step Procedure for Making Homemade Lip Balm
Step 1: Gather the Equipment
Before you begin, make sure you have the following tools ready:
- A double boiler (or a heat-safe bowl over a pot of boiling water)
- A small spoon or spatula for stirring
- A pipette or a small funnel (for pouring the mixture into lip balm containers)
Step 2: Measure and Melt the Ingredients
- Measure your ingredients carefully. In this recipe, we’ll use equal parts of beeswax, shea butter, and coconut oil. This ratio ensures that your lip balm has a smooth, non-greasy texture.
- Use a double boiler to melt the beeswax. Place the beeswax pellets in the bowl over simmering water and let them melt slowly. Stir occasionally.
- Once the beeswax is mostly melted, add the shea butter and coconut oil to the mixture. Continue stirring until everything is melted and combined. Be patient, as the beeswax may take a few minutes to fully dissolve.
Step 3: Add Essential Oils and Optional Ingredients
Once your base ingredients have melted:
- Remove the mixture from the heat to prevent the oils from losing their potency.
- Add essential oils of your choice. Lavender provides a calming effect, peppermint gives a refreshing tingle, while vanilla adds a sweet scent.
- If you want to add a natural tint to your lip balm, stir in a pinch of beetroot powder or mica powder. For extra nourishment, mix in vitamin E oil at this stage.
Step 4: Pour the Mixture into Containers
- Once everything is well mixed, act quickly because the balm can start to harden.
- Use a pipette or funnel to pour the liquid into your lip balm containers or tubes. Make sure they are clean and dry before filling.
- Allow the mixture to cool completely before placing the lids on the containers. This usually takes about 20-30 minutes.
Step 5: Label and Store Your Lip Balm
Once your lip balm has set and hardened:
- Label your containers with the ingredients and the date of preparation.
- Store in a cool, dry place to keep the balm fresh. Homemade lip balms typically last 6 months to a year, depending on the freshness of the ingredients.
Tips for Success
- Experiment with different oils and butters: You can substitute shea butter with mango butter or almond oil for a slightly different consistency and benefits.
- Add SPF protection: Consider adding a small amount of non-nano zinc oxide to make your lip balm sun-protective.
- Use small batches: Since homemade lip balms contain no preservatives, making small batches ensures that you always have fresh balm available.
Benefits of Homemade Lip Balm
- Natural Moisturizers: Ingredients like coconut oil and shea butter are known for their hydrating and healing properties.
- Chemical-free: You can skip synthetic fragrances, preservatives, and parabens often found in store-bought lip balms.
- Eco-friendly: Using reusable containers and natural ingredients is better for the environment.
Conclusion
Making your own lip balm is not only a fun DIY activity but also a way to ensure your lips stay nourished with natural, wholesome ingredients. Whether you’re making it for personal use or as a thoughtful handmade gift, this homemade lip balm recipe is sure to be a hit. Give it a try, and enjoy soft, smooth lips with a balm tailored exactly to your preferences.


